Here's how I solder a tap to a model train track. This method is called tack soldering or sweat soldering. Using this method minimizes heating time of work. It also maximizes strength for a small area joint, and allows two-hand soldering.
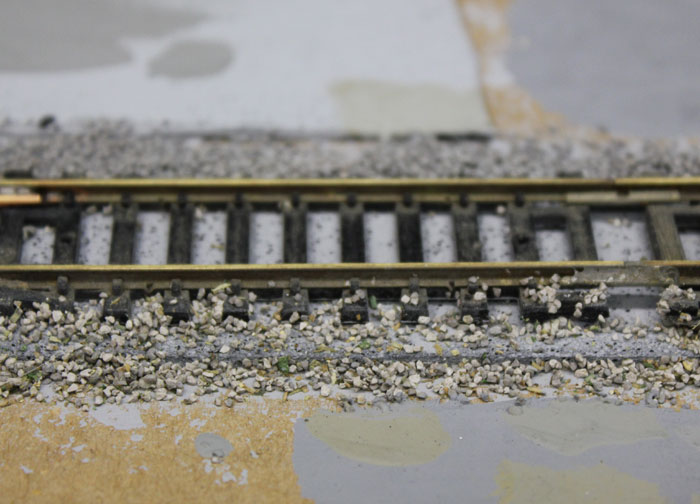
To show how well this works, this is a section of very old very dirty rail.
Look how black the rail is with tarnish. This makes soldering very difficult.
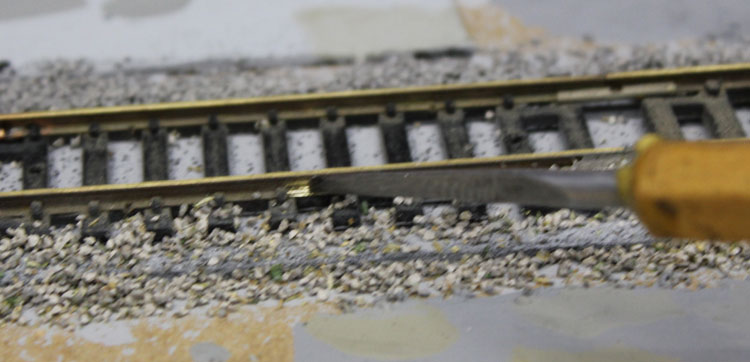
Using a sharp small scraper, I scrape rail side clean and shiny.
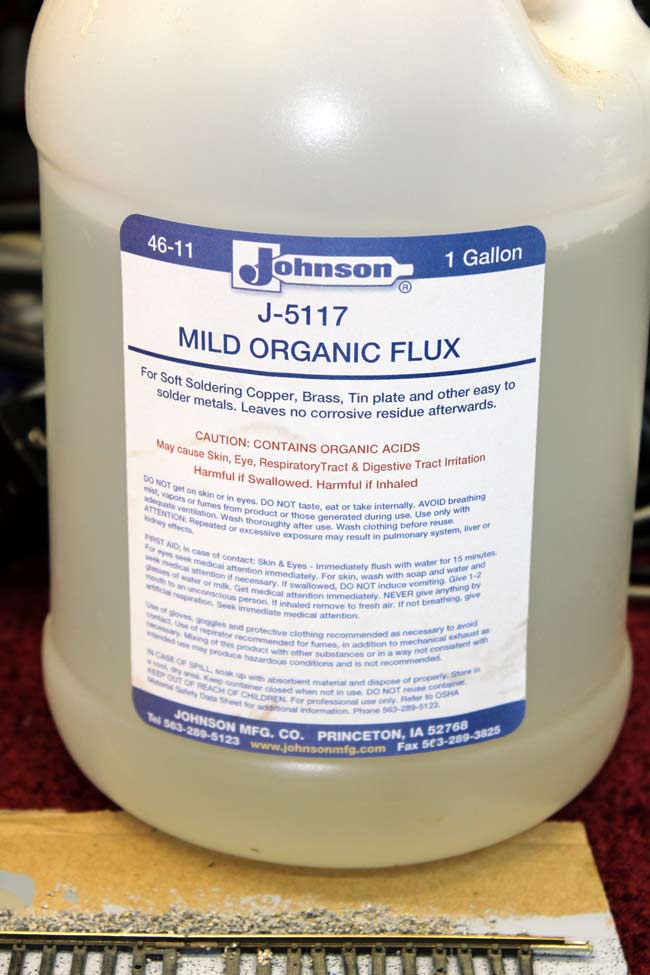
If you do a lot of soldering, buy some good non-corrosive solder flux. People who solder a lot buy it by the gallon!
Fluxing the solder point is a good idea, although with a good multi-core rosin solder like WRAP 3 style solder there is usually enough flux.
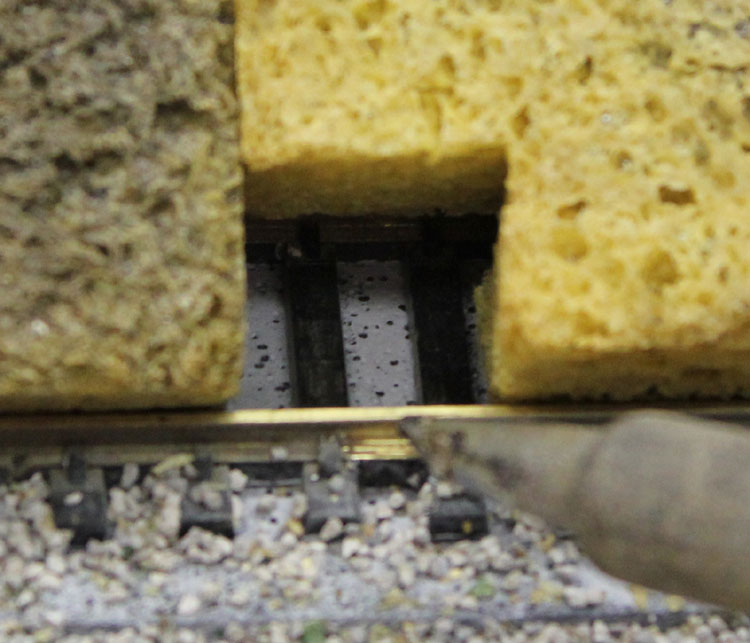
I use wet sponges to prevent tie melting while soldering. This is the most effective method I have used. We used it in manufacturing, back when the USA made things.
Put a big dot of solder on a clean tip and heat the rail quickly. As soon as the solder flows, apply more fresh solder to work.
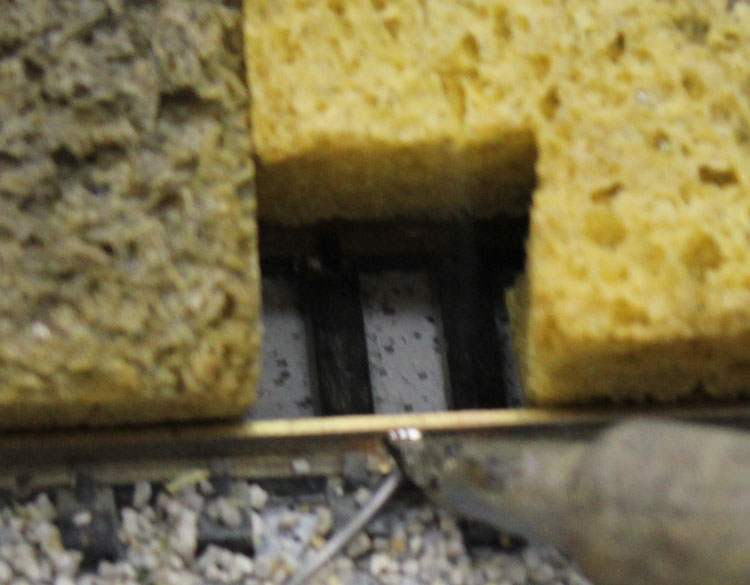
Make a solder dot on rail. This should be a good sized dot.
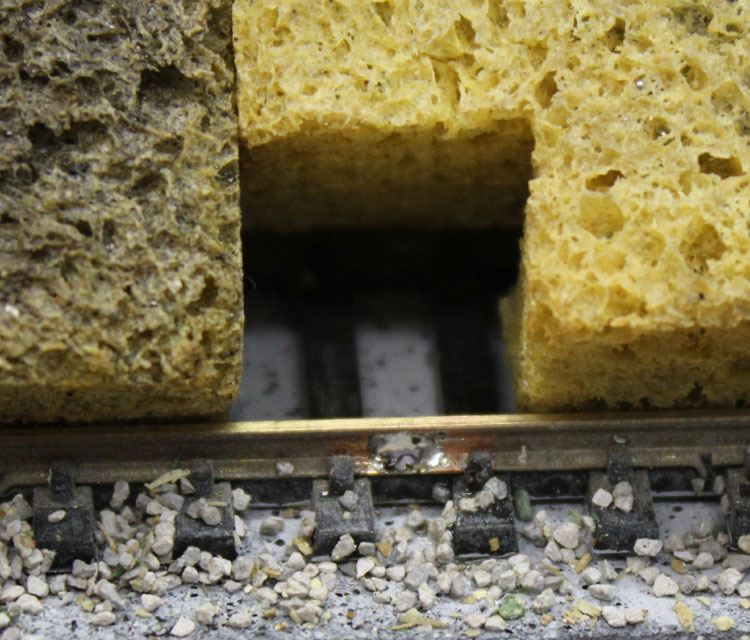
This is what a properly prepared rail will look like.
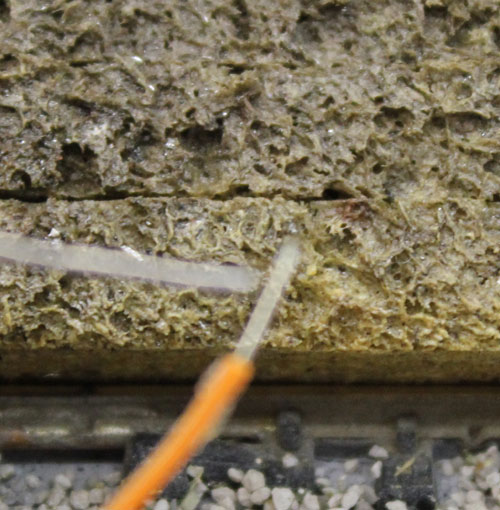
Tin the lead well with fresh solder.
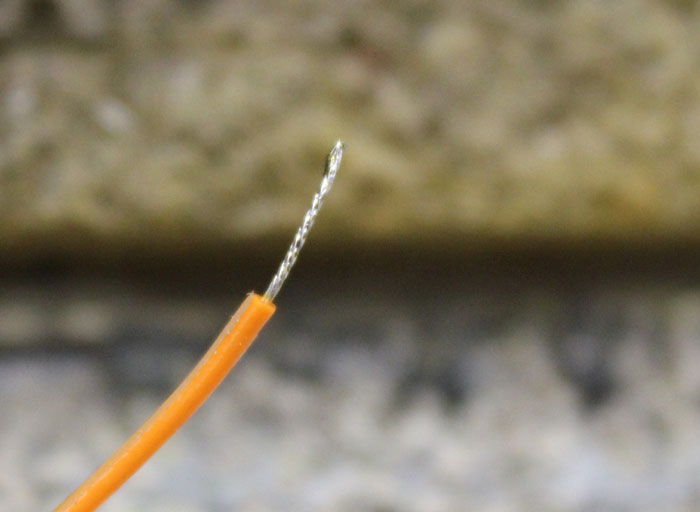
Properly tinned lead ready to form.
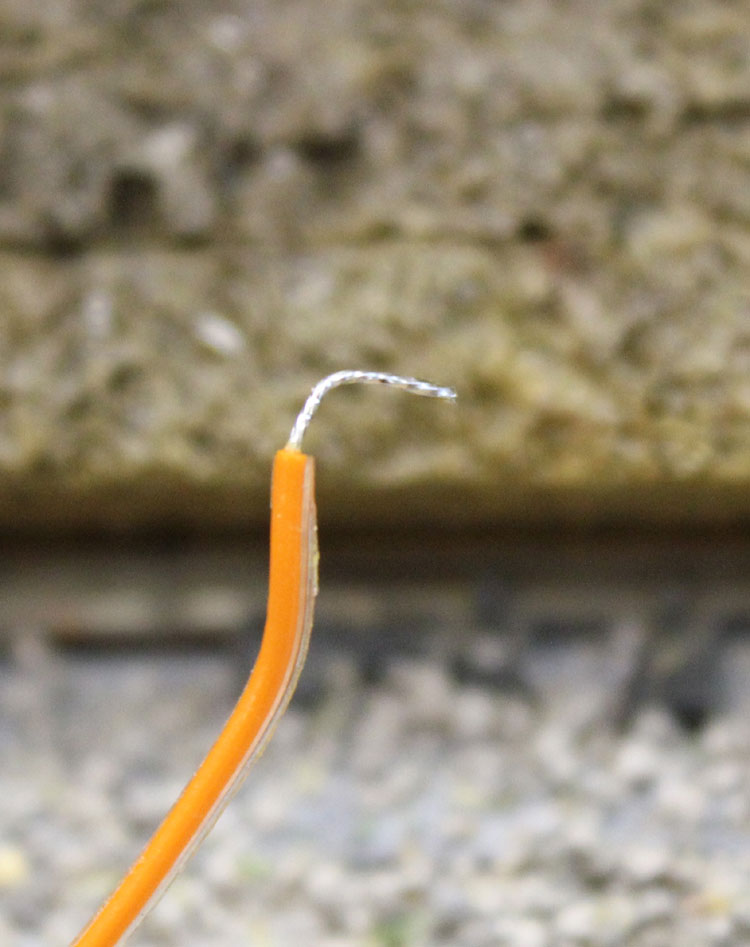
Form the tinned lead in a hook. This will let you place a flat area against the rail dot.
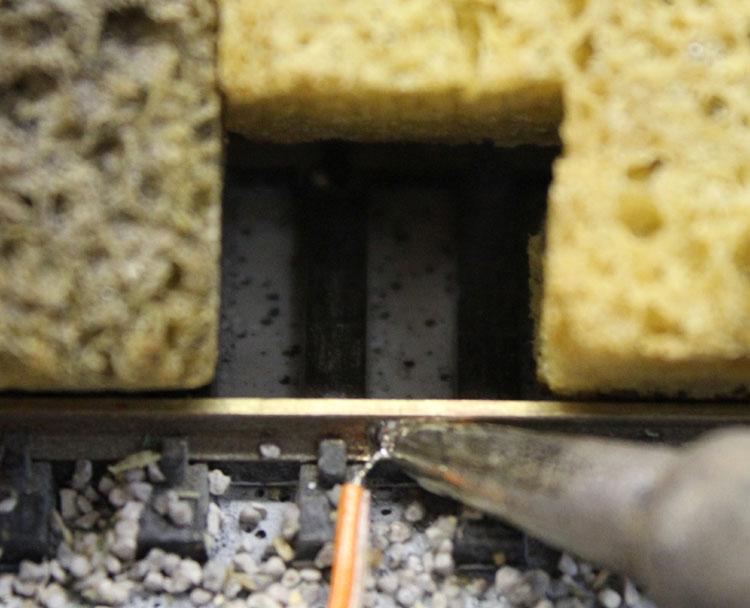
Tack solder by sweating the lead to the dot on rail.
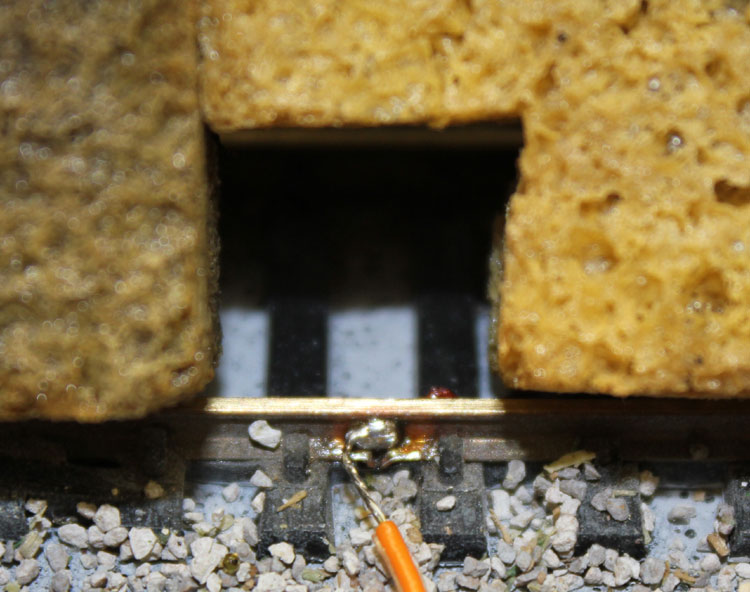
This is a finished tack soldered joint. Notice nothing melted, not the wire insulation or the rail spikes.
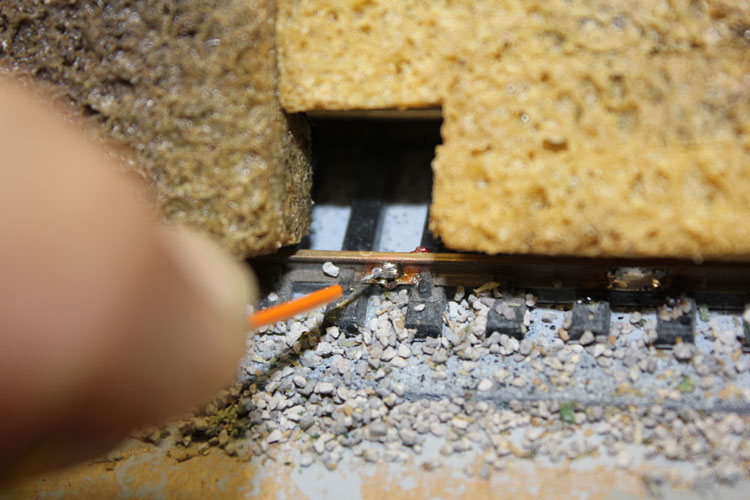
Pull on lead to make sure it is mechanically bonded. You should be able to pull pretty hard without pulling lead loose.